Matador Jobs isn’t like every other job board for WordPress because it integrates with Bullhorn and automatically imports job data. To begin accessing these awesome features, we need to connect to Bullhorn.
This guide assumes the following:
- That you are logged into your WordPress admin and have administrator capabilities on your user account.
- That a version of Matador Jobs is installed and activated on your site.
Before You Start: Log Out of Bullhorn
While it isn’t fun to talk about known issues or bugs at this point so early in your journey, there is a common problem our users experience that we’d like to help you avoid. Before you begin the process of connecting to Bullhorn, if you’ve ever logged into the Bullhorn ATS from your computer, we strongly recommend you do one (and only one is necessary) of the following:
- Go to the Bullhorn ATS (including re-authorizing with your username and password if needed) and then explicitly log out by clicking or tapping Log Out in the top right; merely closing the window will not explicitly log you out.
- Open a Private Browsing or Incognito Browsing window on your web browser to perform the Bullhorn Connection process.
- Use an alternate web browser, eg: Firefox instead of Chrome, which you have not previously used when accessing the Bullhorn ATS.
- Delete all cookies and cached website content.
Connecting to Bullhorn with the Bullhorn Connection Assistant
We built the Bullhorn Connection Assistant to simplify the process for connecting to Bullhorn. Access it to begin connecting your site to Bullhorn.
Accessing the Connection Assistant
To access the Bullhorn Connection Assistant, hover over or tap on the Matador Jobs menu item in the main menu. In the sub menu that comes up, click or tap Settings.


Once in Matador Jobs settings, under the General tab, look for the Bullhorn API Connection section. You will see a button labelled Connection Assistant under a notice that begins with “Your site is not connected to Bullhorn.” Click on the button.

Using the Connection Assistant
The Bullhorn Connection Assistant is meant to lead you through the steps of getting connected to Bullhorn. Each step explains what you need to do while also running behind-the-scenes health checks to guide you through.
The “Prepare” Step
In the “Welcome to Matador” step, we provide basic instructions for what you need to connect to Bullhorn. They are:
- A Bullhorn ATS account with REST API enabled
- A REST API Client ID
- A REST API Client Secret
- A REST API User ID
- A REST API Password
- The Matador Jobs API callback URI registered to the list of allowed callback URIs
- Your Bullhorn account’s server cluster
Whether you don’t know what these are, aren’t sure, or know you have these things, select the appropriate option and click Next Step.

If you answered, “I don’t have API access, or I’m not sure.”
If you answered, “I don’t have API access, or I’m not sure,” the Connection Assistant will provide you a form email you can copy-and-paste into a new Bullhorn technical support ticket. They generally respond to requests in about 24 hours or less. You can safely leave this page and return when they reply!
If you answered, “I have API access, but I forgot my credentials.”
If you answered, “I have API access, but I forgot my credentials,” the Connection Assistant will provide you a form email you can copy-and-paste into a new Bullhorn technical support ticket. They generally respond to requests in about 24 hours or less. You can safely leave this page and return when they reply!
If you answered, “I have everything I need, let’s go.”
If you answered, “I have everything I need, let’s go,” then you’ll be advanced to the next step.
The “Datacenter” Step
The next step will ask you to select a Regional Datacenter. The data center for your connection will be based on the server cluster for your account. Typically, this information is provided in your REST API setup email response from Bullhorn.
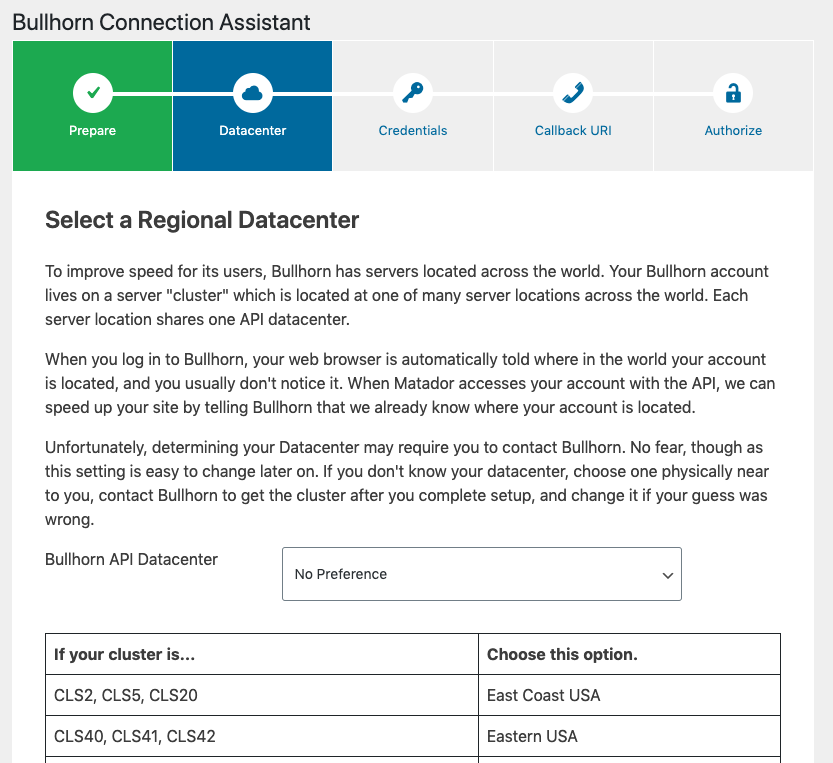
After you select the actual (or best guess) data center for your account, click or tap Next Step.
The “Credentials” Step
In this step, you’ll enter the REST API credentials you got from Bullhorn. Copy and paste the items exactly and try to avoid copying any spaces or line breaks that appear not to belong.

After you have filled out this form, click or tap on Next Step to continue the connection assistant.
The “Callback URI” Step
When Matador communicates with Bullhorn, it sends a special behind-the-scenes request asking for permission to access your data via the API. Bullhorn, instead of simply replying “yes” or “no”, will give its answer in a redirect to a callback URI. Matador creates a special hidden place on your website to listen for those “answers” from the Bullhorn API and begin communicating with it when the answer is yes.
This step will check if your callback URI is authorized. In most cases, the step will tell you, yes, and if so, you can simply click or tap on Next Step. If not, it will provide instructions, including a form letter you can copy and paste and use to send a request to Bullhorn support.

The “Authorize” Step
We’ve made it now to the final step! At this point, simply click or tap on the Authorize Site button to connect your site to Bullhorn.

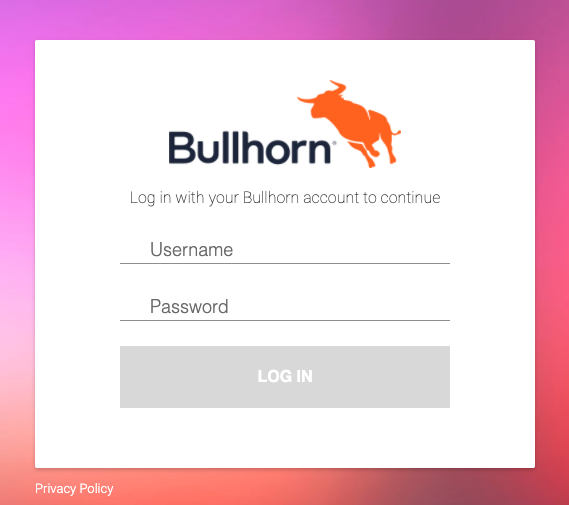
You will either be redirected to a Bullhorn login screen or return immediately to a completed Bullhorn Connection Assistant.
If you’ve never authorized your site before, you will be redirected to a Bullhorn login screen and asked to enter your API username and API password on the Bullhorn site. Use the same ones you provided in the Credentials step.
You may further be asked in this process to accept the API Terms of Service. Make sure you do this.
Upon completing these steps, you will be redirected to your Bullhorn Connection Assistant.

Congratulations, you are now connected to Bullhorn! Click Complete Connection Assistant, and on the next screen, Exit Connection Assistant to exit to Matador Jobs settings.
Troubleshooting
Here are some common issues and how to solve them.
What’s Next
Congrats! You’re connected to Bullhorn. Now it is time to import your first jobs!